This is a quick way to get started with CodeStencil.
We will be using the aspnet-core stencil to create a working application. This stencil comes installed with a Sqlite database using the Chinook Schema.
| Step 1: Install CodeStencil |
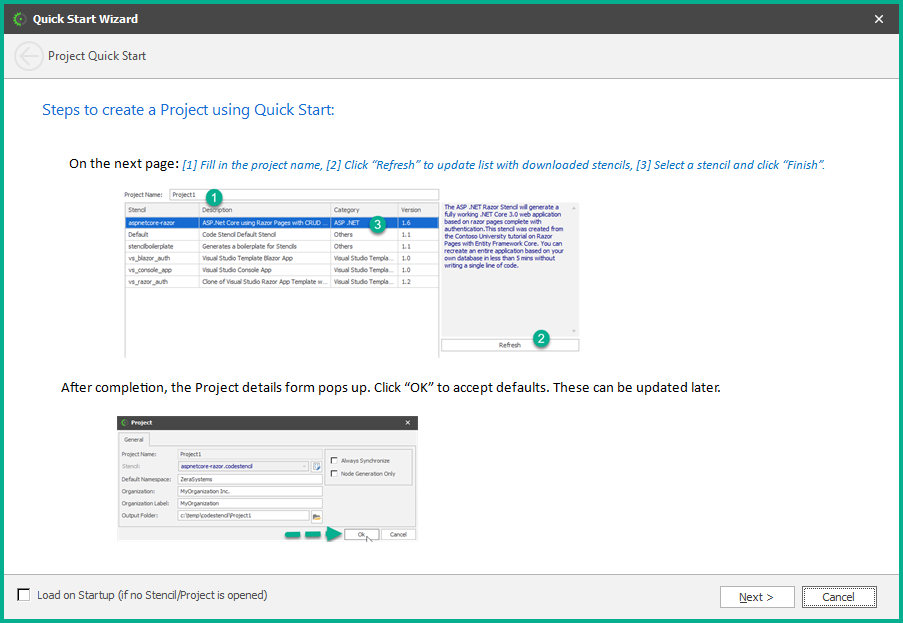
After CodeStencil has been installed, you will get a Quick Startup window.
|
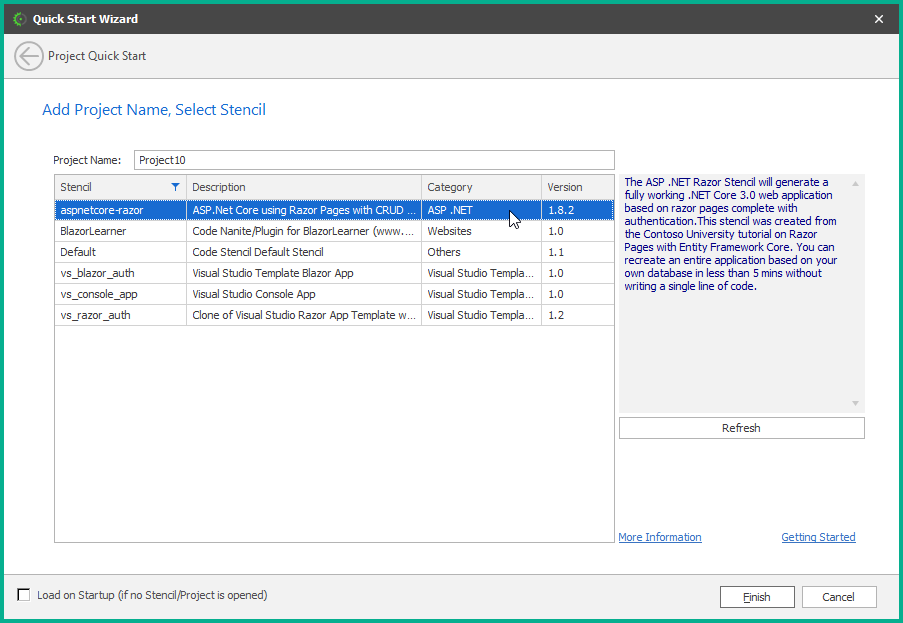
| Step 2: Click NEXT and select "aspnetcore-razor" stencil (should be the one on the top). Accept the default project name |
Click FINISH |
| Step 3: Accept Project Details |
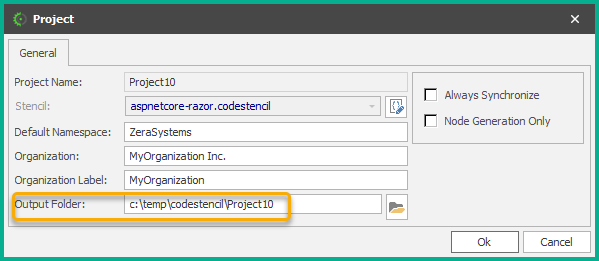
Click OK to accept the pre-filled project properties on the intermediate form that appears:
Note: Your code will be generated into the folder "c:\temp\codestencil\Project10" |
| Step 4: Generate your code |
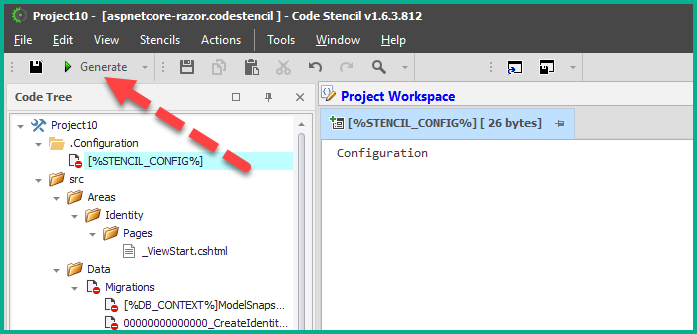
You will see your project being filled by the stencil. Once this is complete click the "Generate" button to start generating your code:
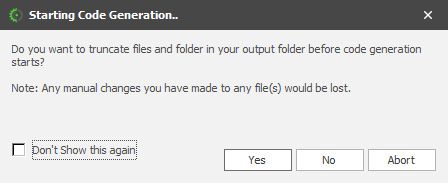
If you get a prompt asking to truncate your files, you can click either "Yes" or "No". If you don't get any prompt then code generation starts automatically.
|
| Step 5: Load the application |
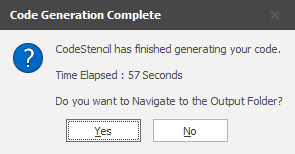
Once your code has finished generating, you should get this prompt:
Click "No" to close it.
Now, there are 2 ways you can load and run your generated application:
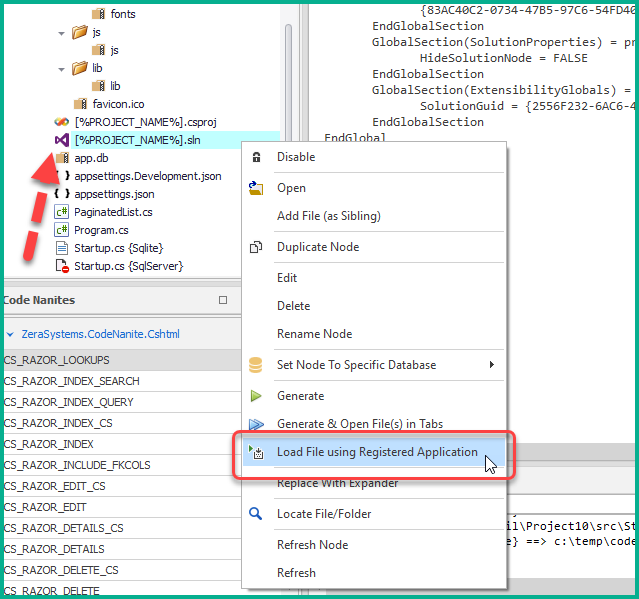
(1) Load Solution File: You can load your solution file from the CodeStencil IDE. Note that this will open a fresh copy of Visual Studio. To do this look for the solution file in the Code Tree, right-click and select "Load File using Registered Application":
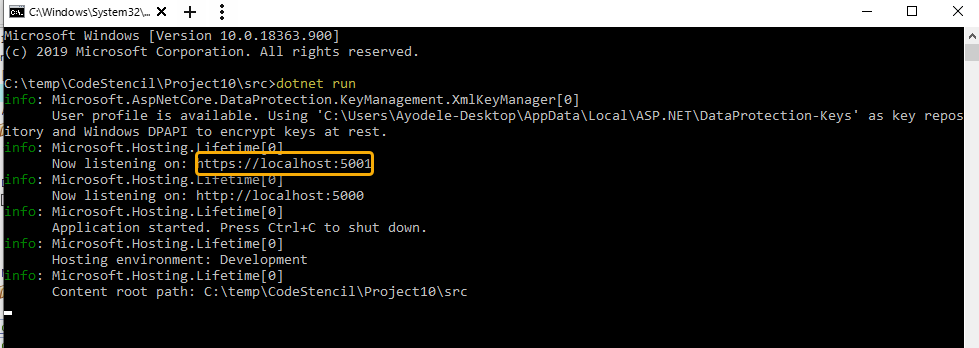
(2) The .NET Core CLI: Another way is to use the .NET Core Command Line Interface. To do this: 1.Open a command prompt 2.Navigate to your output folder. Remember, from Step 3 above, it is "c:\temp\codestencil\Project10" 3.Make sure the project file is in this folder. In some cases, depending on how your output was defined, it may be in a "src" sub-folder 4.Type the command: "dotnet run". This will load the application and indicate the listening port
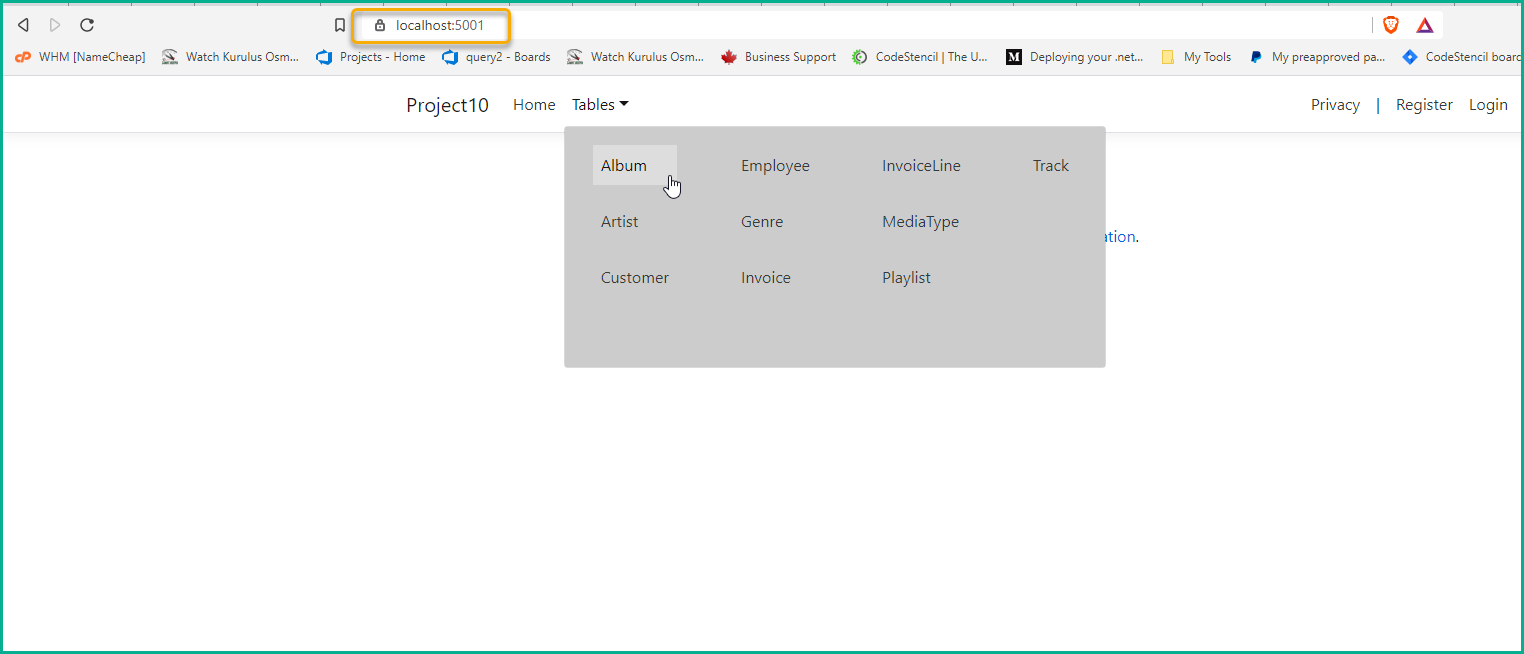
5.Open a browser and use the "localhost:xxxx" where "xxxx" is the port number. This should load the application.
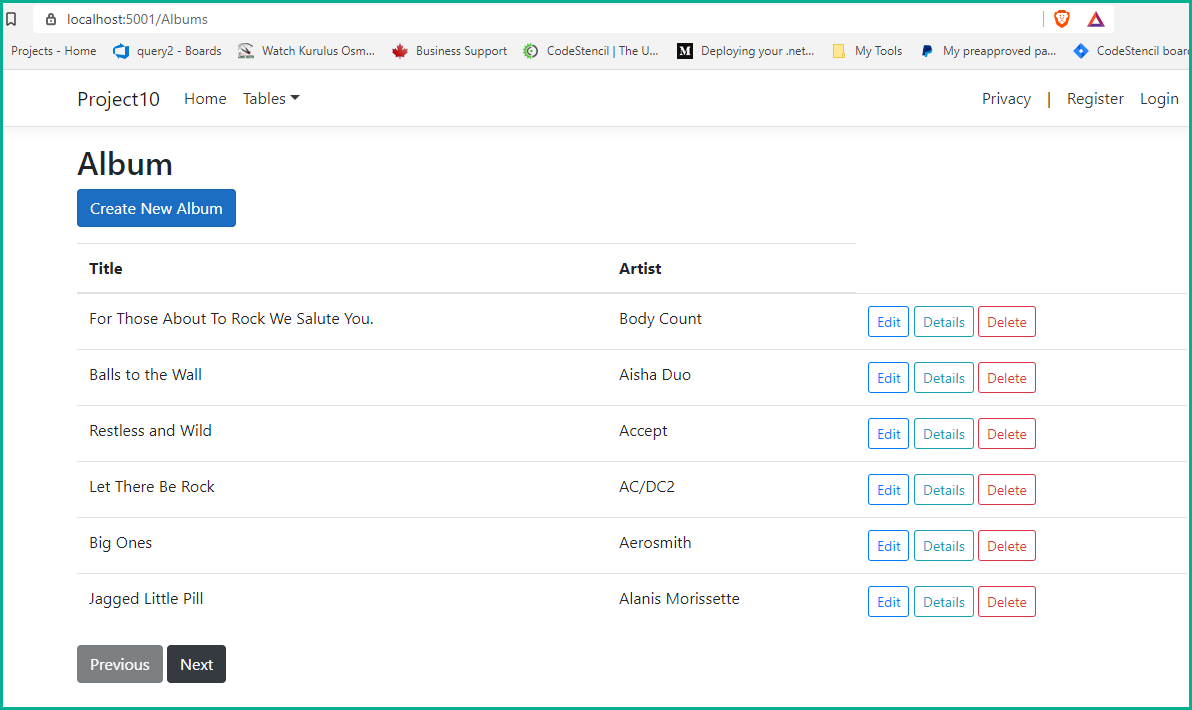
If you select "Album" from the menu you will see the table loaded with CRUD capabilities.
|
This is it. You have generated a fully working application using CodeStencil and without writing a single line of code!
