This menu allows you to create a new project. You also have the option of using the hotkey - CTRL+SHIFT+P to automatically bring up the "New Project" form.
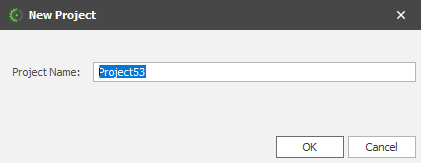
After you have entered the project name and clicked OK, you are prompted with another form that has more fields to be filled.
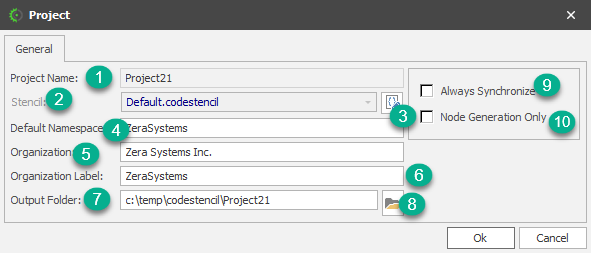
1)Project Name: This is the project name specified in the previous form. In this current form this field is read-only because the project file is already created at this point.
2)Stencil: This shows the stencil the will form the base of code generation for this project. The Default stencil is selected by default, and to change it, click on the "Select Stencil Button" - See (3).
3)Select Stencil Button: When this button is clicked, it brings up the Select Stencil window.
4)Default Namespace: This is generally more applicable when the project you are creating will be generating .NET classes
5)Organization: This is the just the name of your organization.
6)Organization Label: This is a label for your organization. It should be a single word, no spaces or punctuation characters allowed.
7)Output Folder: This is the folder your code will be generated into.
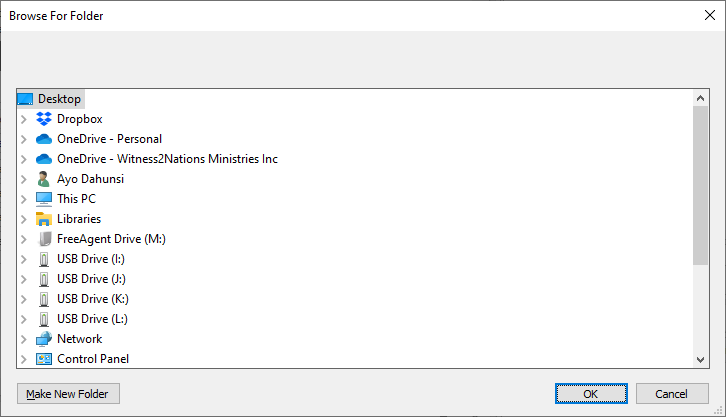
8)Select Folder Button: This button opens the "Select Folder" dialog that will allow you to select the Output Folder to generate you code.
9)Always Synchronize: When this is checked, your project get updated whenever the underlying stencil receives an update.
10)Node Generation Only: When this is checked, a code generation can only be done on a node-by-node basis.